Are you planning a hike up Table Mountain? Then you shouldn’t miss the following post with its many tips and highlights! Today I’d like to introduce you to 5 different routes, all of which will take you to Cape Town’s landmark. Table Mountain, one of the 7 Natural New Wonders of the World and on every Cape Town visitor’s bucket list, together with Devils Peak, Lions Head, and Signal Hill, forms a kind of highly recognizable Cape Town skyline.
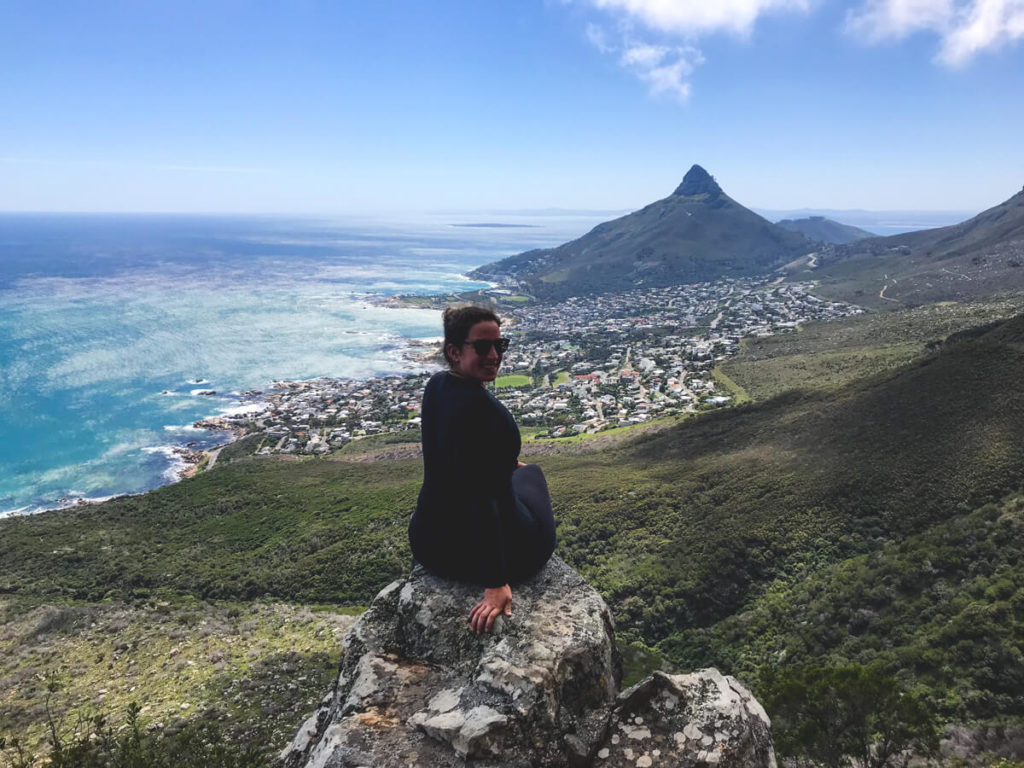
I must admit, they’re the best way to get your bearings in Cape Town. It’s easy to get lost in all the small streets and districts of the Peninsula. It’s a good thing Table Mountain always shows you the way home. When visiting a new city (or maybe not so new after all), you have to see the city from above.
What the Eiffel Tower is to Paris or Sugar Loaf to Rio, Table Mountain is to Cape Town. Table Mountain National Park is enormous. Endless hiking trails lead up the mountain range from all sides, offering a completely different view of a completely different part of town. Deciding which path to take isn’t easy. So, are you ready for a hike up Table Mountain? Well then, what are you waiting for?
What else you should know
- Best time to travel to South Africa
- Currency in South Africa
- South Africa Entry & Visa
- Round trip with a rental carcarcar
- car
- Northern Cape Round Trip
- Krüger National Park
- Panorama Route South Africa
- The beautiful Winelands
- South Africa Garden Route
- What else you should know
- Current events
- Table Mountain National Park
- Preparation and planning
- Packing list for a hike up Table Mountain
- Hiking up Table Mountain – 5 routes to the top
- 1. Platteklip Gorge
- 2. India Venster
- 3. Kasteelspoort
- 4. Skeleton Gorge/ Nursery Ravine
- 5. Constantia Nek
- Hiking on Table Mountain – My Conclusion
Current Events
Recently, there have been an increasing number of (sometimes armed) robberies at Lion’s Head, around Table Mountain, and at Signal Hill, especially at sunrise and sunset. Currently, hikers are advised to only hike in larger groups, preferably during peak times. Valuables should be left at their accommodations. During robberies, tourists are primarily confiscated from cell phones, money, and cameras. It is recommended to bring an old but functioning cell phone. You can find more information on the current situation here: Take Back Our Mountains.
Table Mountain National Park
Table Mountain National Park is essentially the spinal cord of the Cape Peninsula and stretches over 70 km from Signal Hill to Cape Point. A few years ago, it was even possible to walk from the city to the Cape of Good Hope in just five days. Unfortunately, most of the accommodations are now closed due to vandalism. The mountain has stood here for over 540 million years and was once even an island. Today, there is a greater variety of plants here than in the Amazon, and depending on the season, you can see flowers such as proteas, disas, or daisies.


The park can be roughly divided into three parts, starting from Signal Hill and continuing through Table Mountain to the M63 (Orange Kloof). The second part, certainly the least known among visitors and travelers, is the area around Silvermine, and the last part is Cape Point National Park. Today, however, we’re going to focus on the first part, because Table Mountain has more than just one route leading up to the top.
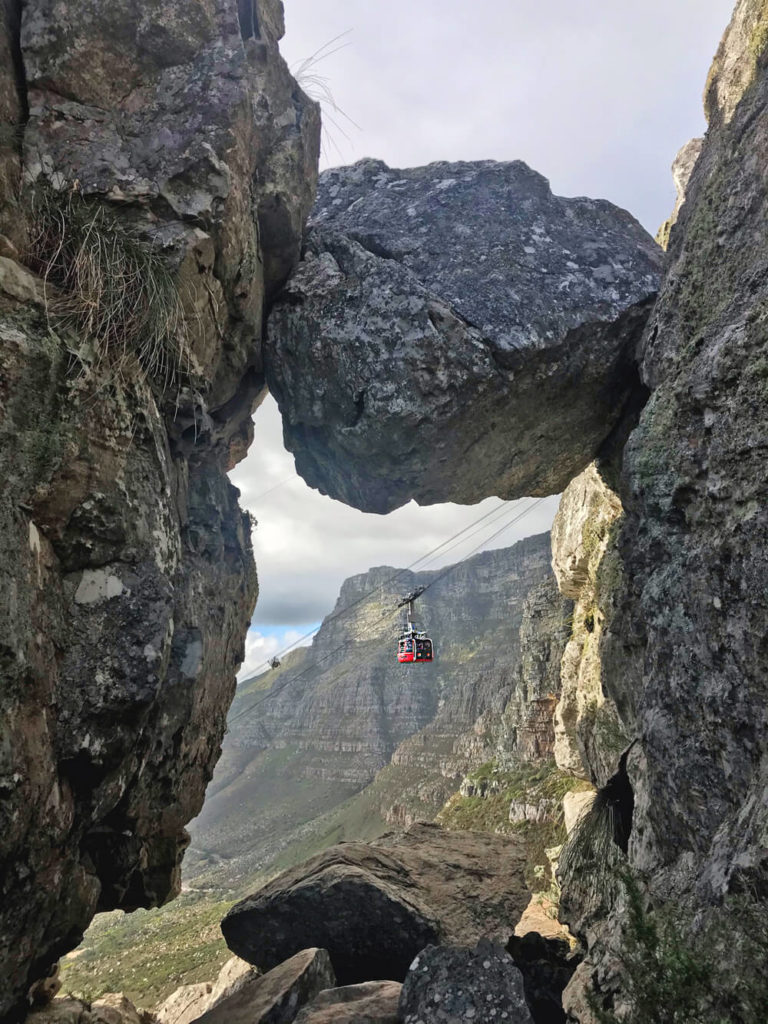
The map below shows you how big the park actually is. Considering that you only walk the short part of the cable car, you start to feel pretty small. But hey, you have to start somewhere. So put on your hiking boots, let’s go!

Preparation and Planning
A hike up Table Mountain is no walk in the park, but it’s not rocket science either. Good preparation is therefore essential. First and foremost, check the weather. In Cape Town, the weather can change very quickly, and you could easily be surprised by clouds and/or rain. My personal favorite time for hiking is between April and October. This is also the rainy season in the Cape, but you can always find a sunny day in between. It’s not as hot during this time, and there are many waterfalls and streams that serve as a source of water.
If you decide to hike in the summer, it’s best to start early in the morning (by that, I mean really early, around 6 or 7 a.m.). Is the weather good? Perfect! Next, you’ll need a hiking buddy. It’s not recommended to hike Table Mountain alone. If you encounter a problem along the way, it’s always good to have someone with you.
Hiking boots or trail runners!
Be sure to wear hiking boots or at least trail runners. The trails have many steps, some of which can be slippery or wet. Shoes with a good tread protect you from injuries in the event of a fall and definitely give you more grip on difficult climbs. By the way: Hiking in Table Mountain National Park is free (except for Orange Kloof and Cape Point National Park)
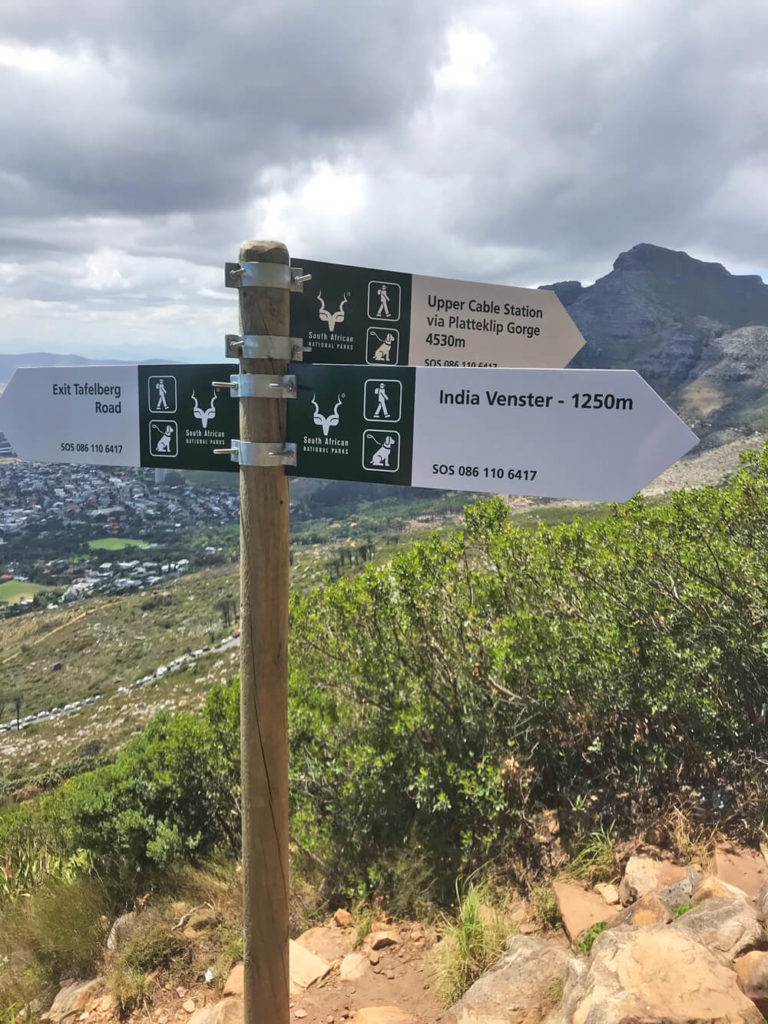
And now I have to get to the unpleasant part: Table Mountain, even though it’s located in the middle of the city and supposedly easy to climb, still towers over 1086m above sea level and has claimed many lives. Therefore, be sure to stay on the marked trails and, if necessary, use an app like Komoot, AllTrails, or Maps.me. Alternatively, you can of course also use a regular map, such as the one from Slingsby. On Table Mountain itself, there are small maps at every crossroads that will help you find your way quickly.
In case of emergency, it’s always a good idea to save the Mountain Rescue phone numbers. I don’t want to spread panic, but spending your entire vacation budget on a rescue helicopter flight would be a real shame.
Packing list for a hike up Table Mountain
I love hiking with a backpack and a small fanny pack or trouser pocket. My backpack holds the heavy items, like my water bottle. The fanny pack contains all the things I need quickly, like my phone for taking photos. It always depends a bit on the time of year you’re hiking, but I usually always (!) have the following things with me:
- 2nd shirt (so you don’t freeze in a sweaty shirt)
- Sweater (it can get cold up there between May and September)
- Hat (to protect you from the sun), or other headwear will do, of course
- Sunscreen (don’t underestimate the UV radiation!)
- Water (approx. 2-3 liters, depending on the route) & Snacks
- Headlamp (even if you’re hiking during the day, I always like to have one with me, you never know)
- Mosquito spray & First Aid Kit
- Possibly a rain jacket
In my small bag, I usually keep my cell phone, keys, some change for the summit beer, as well as my pocketknife and, if necessary, pepper spray.
Hiking Table Mountain – 5 Routes Up
Depending on your fitness level and fear of heights, you can choose from different routes on Table Mountain. Four of the following five routes are among my absolute favorite hikes and are strenuous and completely different in their own way. Let’s start slowly:
By loading the map, you accept Google’s privacy policy.
Learn more
Load map
1. Platteklip Gorge
The most well-known and (cough) most boring route up the mountain leads via Platteklip Gorge. This trail begins about 1.5 km behind the cable car on Tafelberg Road. This trail consists of hundreds of steps and is the fastest way up the mountain. The panorama changes little, as you always have the same view. If you’re new to hiking, this is the perfect route for you. It’s impossible to get lost here, and there are no particularly difficult sections. Nevertheless, this trail is classified as “moderate.”
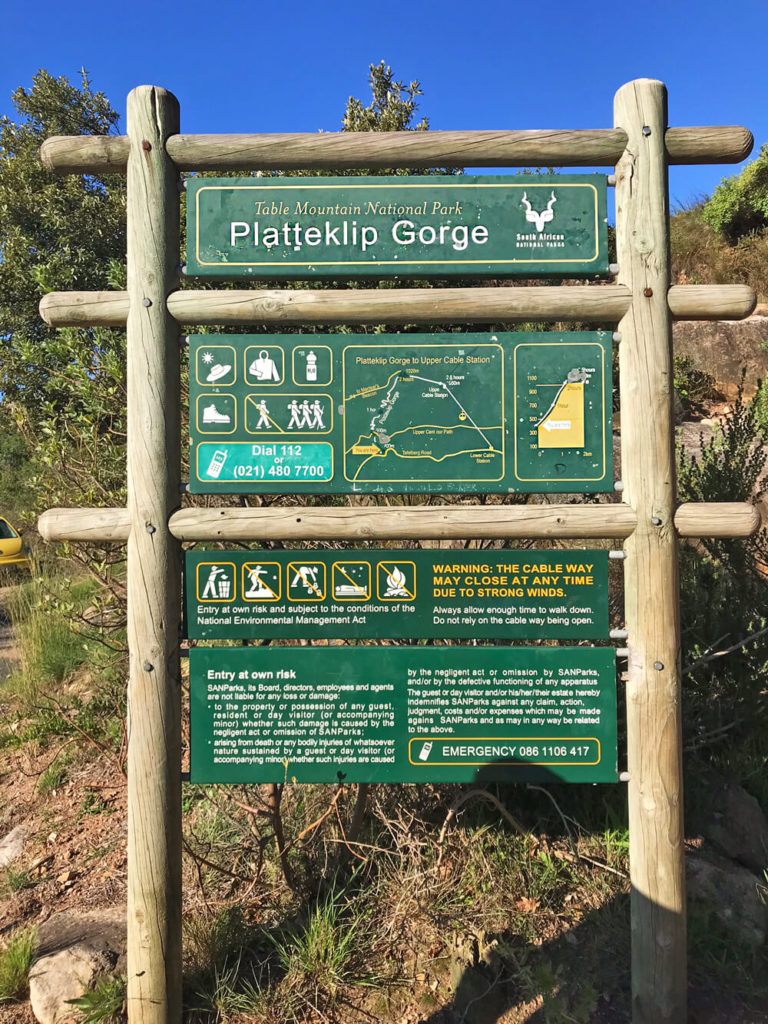
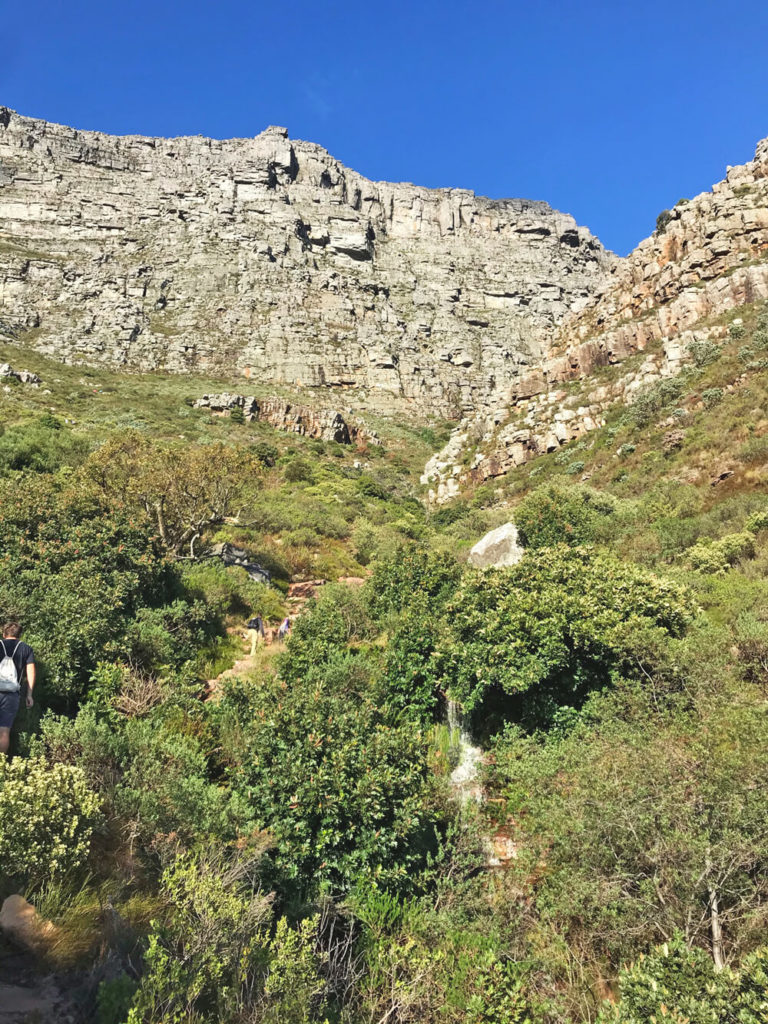
Start on Tafelberg Road at the “Platteklip Gorge” sign and follow the trail for about 20 minutes until you reach the Contour Path. This trail connects all the trails from the north side, and you can choose a different trail here. To stay on the Platteklip Gorge hike, turn left and then immediately right again. The path now zigzags through the gorge until you reach a T-junction at the top.
All the paths that lead somewhere to Table Mountain converge here. Now turn right, take the last 4-5 steps, and you’ve made it. After a few meters, you’ll reach the tourist path and, with it, more and more people wearing different footwear, who must have taken the cable car. This is the moment when you realize what you’ve just accomplished. Congratulations! You’ve now reached the very top of Table Mountain. Well done!
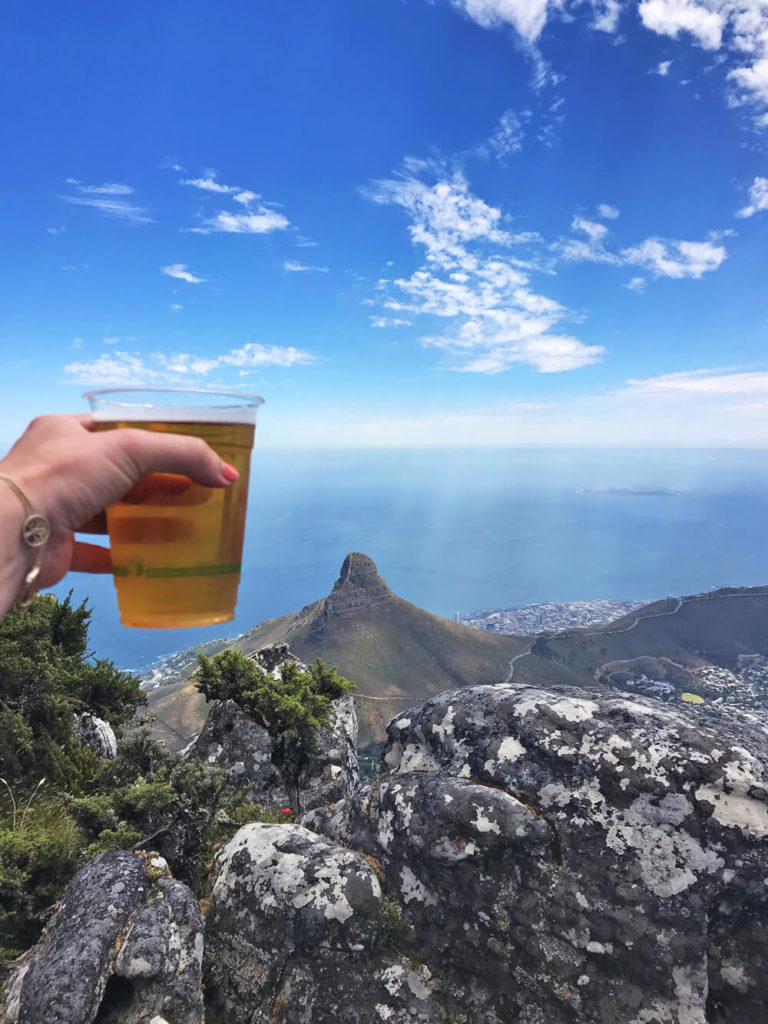
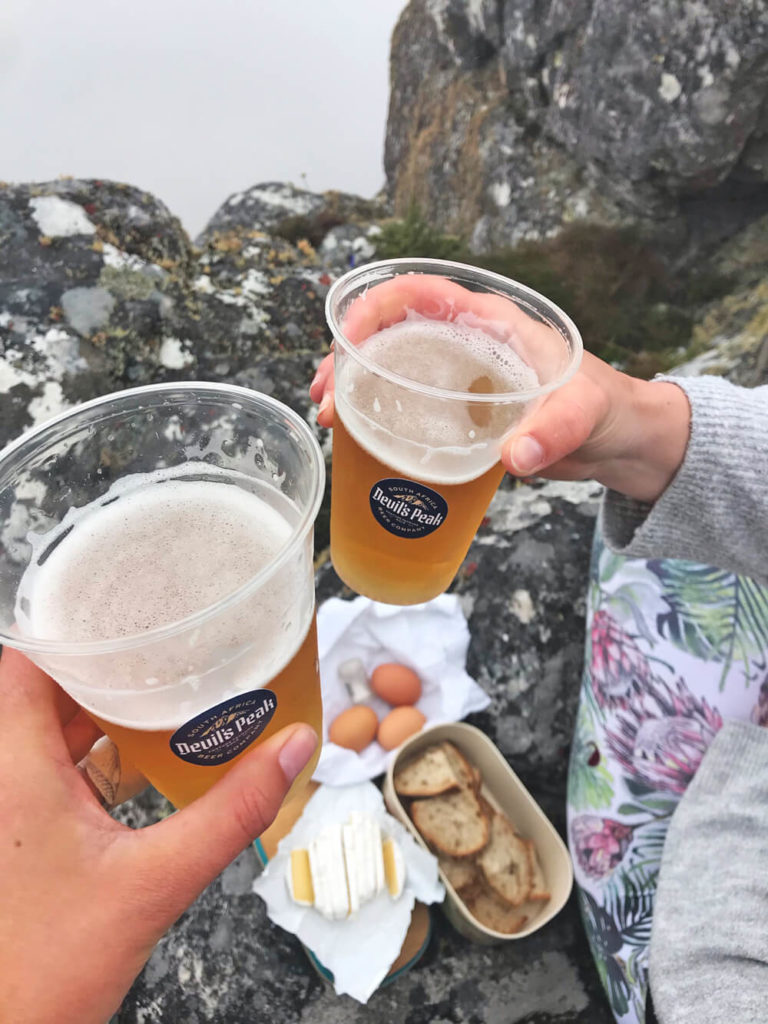
My tip: The restaurant near the Upper Cable Car Station sells cold and hot drinks and snacks. Get a cold (non-alcoholic) beer or a hot coffee and take it outside. On the north side, a little off the beaten track, you can overlook the entire city, and many rocks are perfect for a picnic.
The fastest way to the top
Why am I telling you about this trail even though I don’t like it myself? Quite simply, this is the best trail for visitors on a time crunch, for beginner hikers, and for hikers with a fear of heights. The hike up via Platteklip Gorge takes about 2 hours and is not technically demanding, which doesn’t mean it’s strenuous. It’s still the most important route for me, as it’s not only the fastest way up, but also down. No matter which route I take up Table Mountain, I usually take the Platteklip Gorge route back down. Of course, you can also get cable car tickets, but they’re quite expensive.
Platteklip Gorge – The most important information:
- Ascent: approx. 2 hours
- Descent: approx. 1.5 hours
- Elevation gain: approx. 650 m
- Distance: approx. 2.8 km
- Other: No water on the trail, shade is only available early in the morning.
2. India Venster
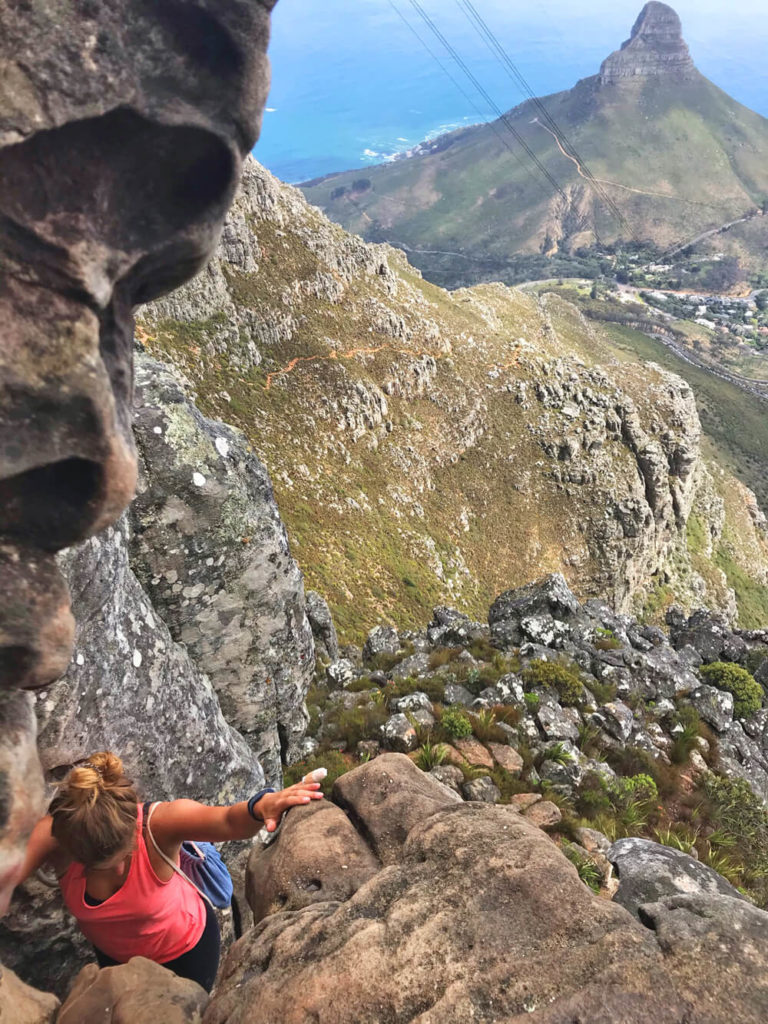
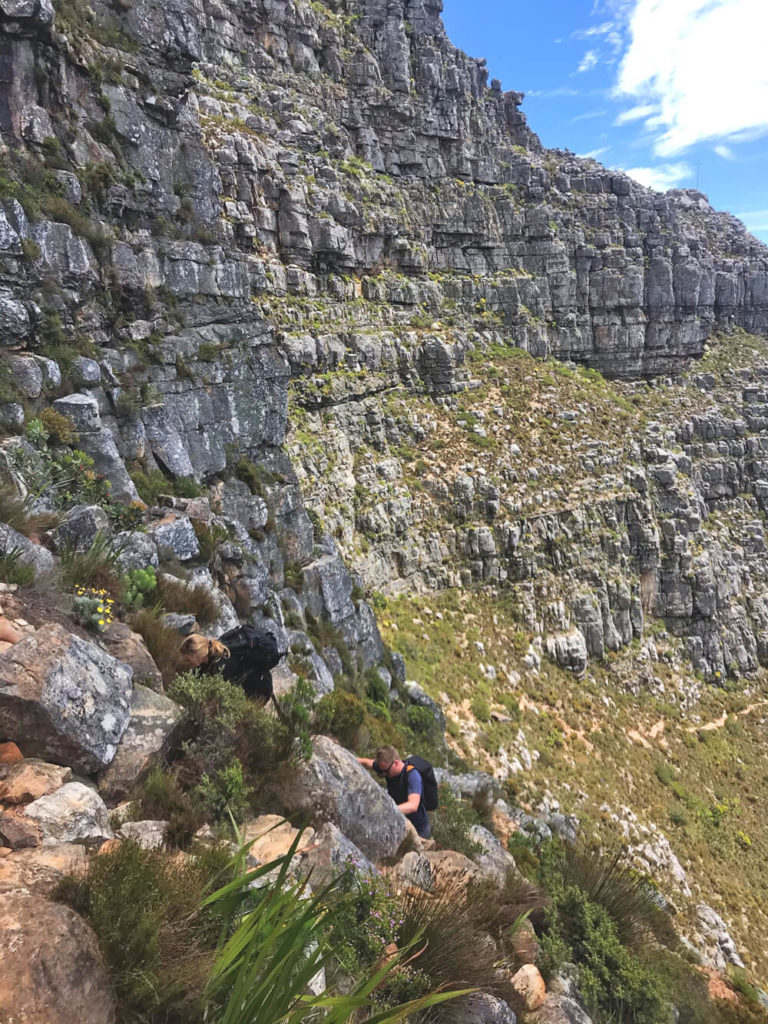
For all adventurers and adrenaline junkies: This is my absolute favorite trail on Table Mountain. Also on the north side of Table Mountain is a trail that is not quite as easy to manage: India Venster. This is probably the most technically difficult route I’m describing today, and you should definitely be sure-footed and have a head for heights. The trail features several climbing sections, most of which include holds (free climbing), so I recommend only hiking uphill, not downhill. Have you already hiked up Lionshead and had trouble on the short climbing segment? Stay away from this trail!
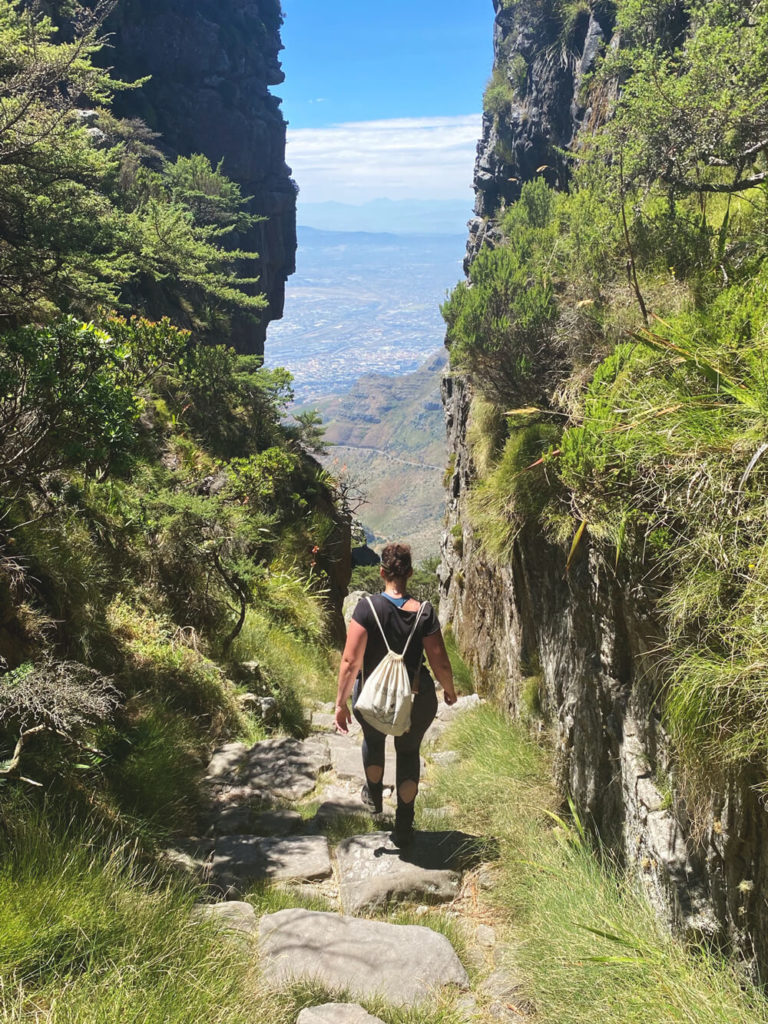
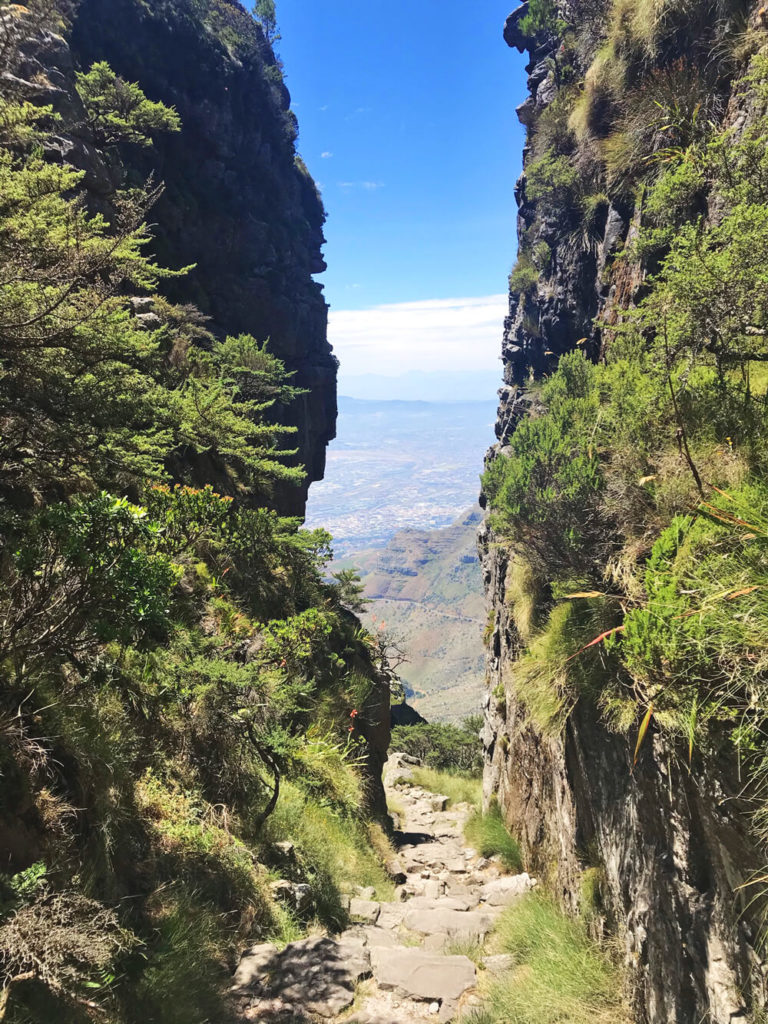
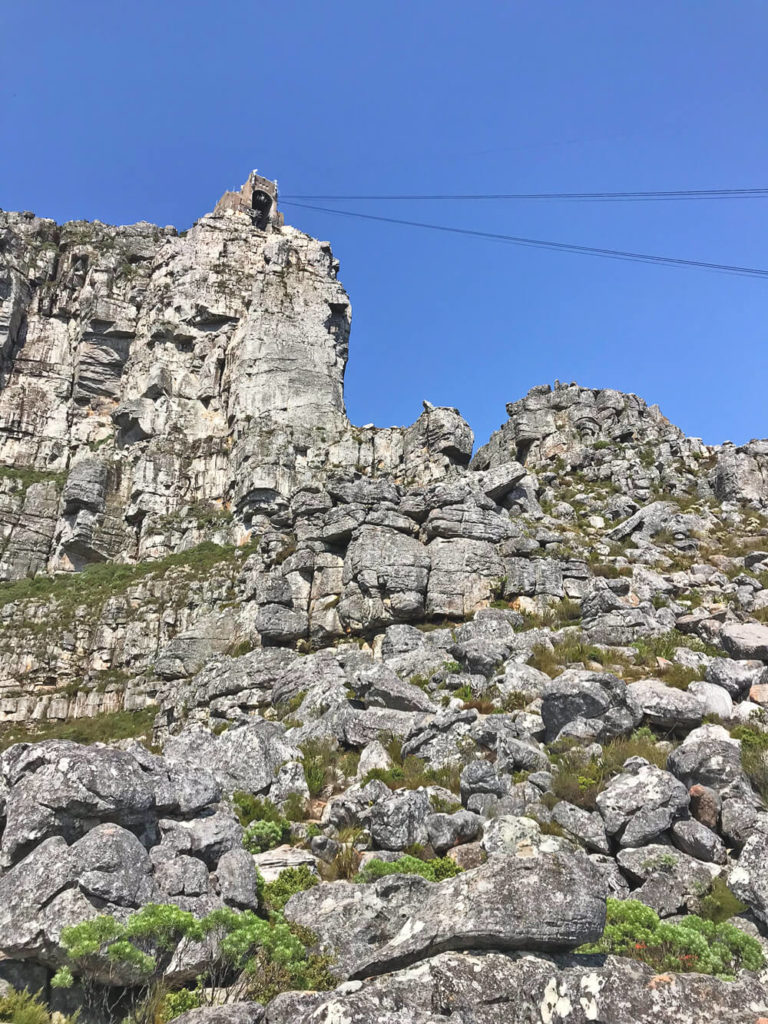
The trail begins to the right of the Lower Cable Car Station and leads up many steps to the Contour Path. Don’t worry, the trail only has steps at the beginning. This is where the fun begins. It’s less than 20 minutes from the Contour Path to the first highlight and lookout point of the trail. From here, the trail continues upwards, making a wide curve to the left, to the climbing sections. The following pictures give a glimpse of the trail’s difficulty.
Once you’ve completed this section, you’re almost at the top. But even though you can already see the Upper Cable Car Station and are standing directly 100 meters below it, from here on, there are still about 1.5 km to go. However, these are much less steep, and you can easily complete the route in under an hour.
Insider Tip: Hikers greet each other on the trail. If you see other hikers, be friendly and help each other out. Distance information for the South African Way:
- “You are almost there” = definitely doesn’t mean you’ll be there soon. The walk will take at least another 20-30 minutes!
- “It’s still a bit” = You’re not even halfway there, grit your teeth!
Amazing view of the 12 Apostles
The path leads in a further arc directly under the cable car to the Camps Bay side with an amazing view of the 12 Apostles. The trail leads in a large arc to the meeting point for all the trails and up the last 4-5 steps to the tourist track. Congratulations! You’ve reached Table Mountain. Well done! From here, after visiting the best viewpoints, you can hike back down the path via Platteklip Gorge.
Tip for you: Leave your car at the start of the Platteklip Trail and hike along the Contour Path to the start of the India Venster Trail. This way, your car will be right here after the descent. Are you here by Uber? Unfortunately, you’ll have to return to the Lower Cable Car Station, as no Uber goes to Platteklip. From here, take the Contour Path from Platteklip back to India Venster.
India Venster – The most important information:
- Ascent: approx. 3 hours
- Descent: not recommended
- Elevation gain: approx. 700 m
- Distance: approx. 3 km
- Other: No shade
3. Kasteelspoort
You’ve taken the whole day? Wonderful. Let’s get to the highlight, Kasteelspoort, and thus to the longer routes up Table Mountain. This path leads along the Pipe Track (a shortcut through Camps Bay is possible) to the start of the trail. The advantage of this trail is that it remains on the shady side of Table Mountain for a long time in the morning, making it easy to do even in summer.

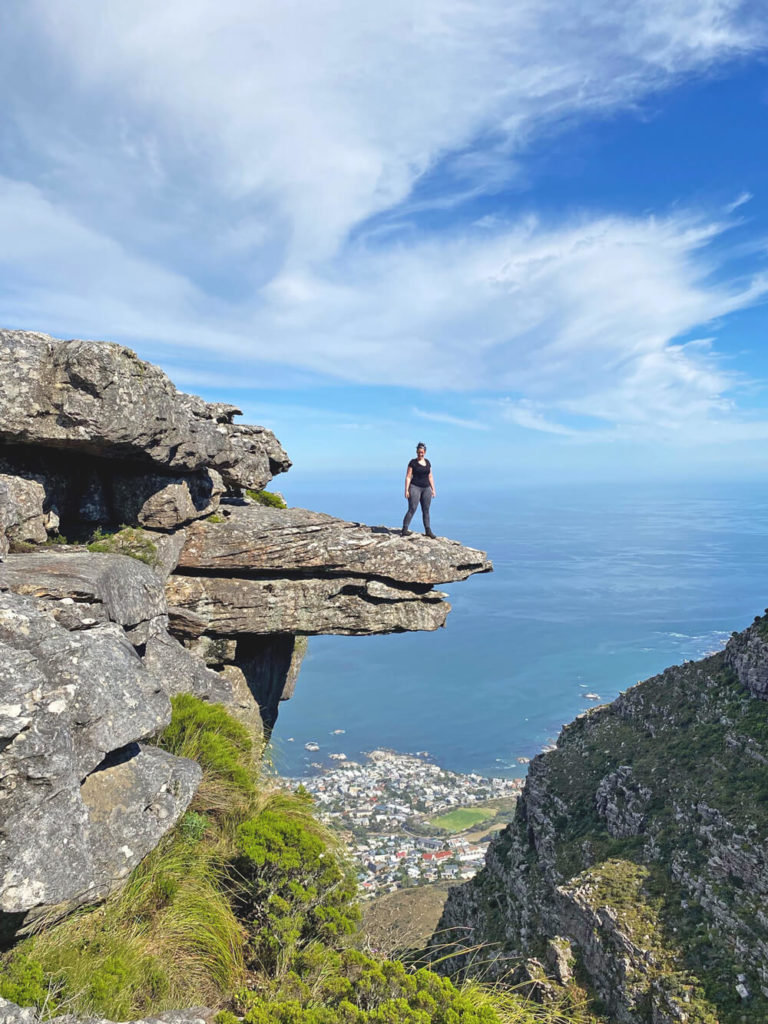
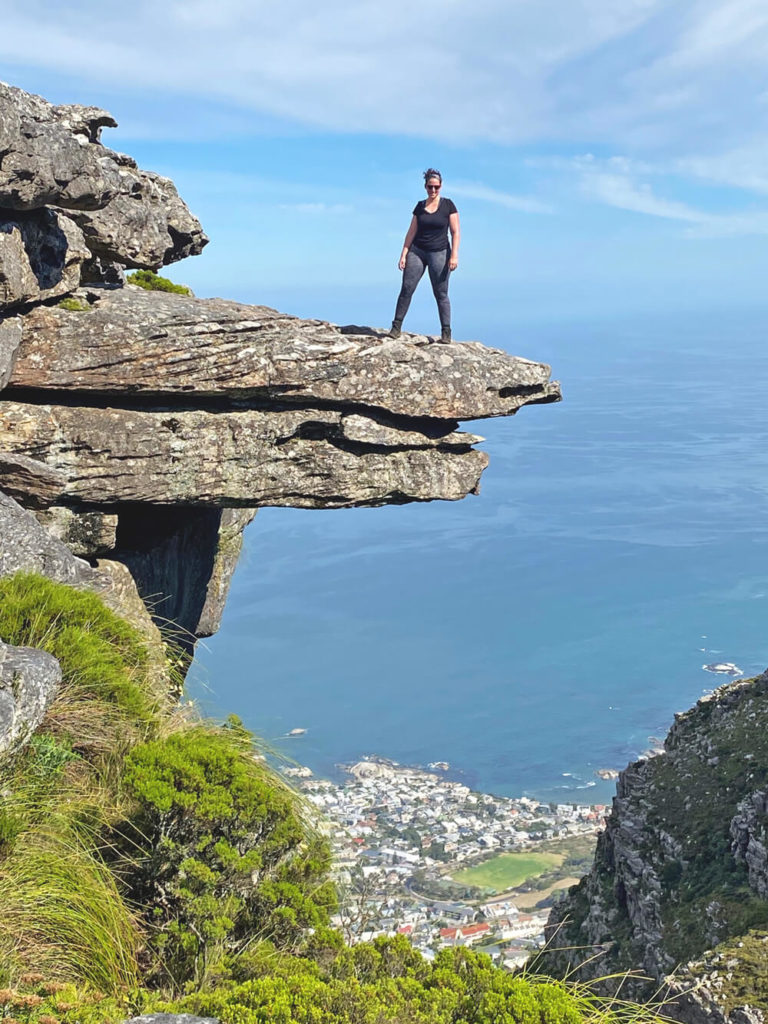
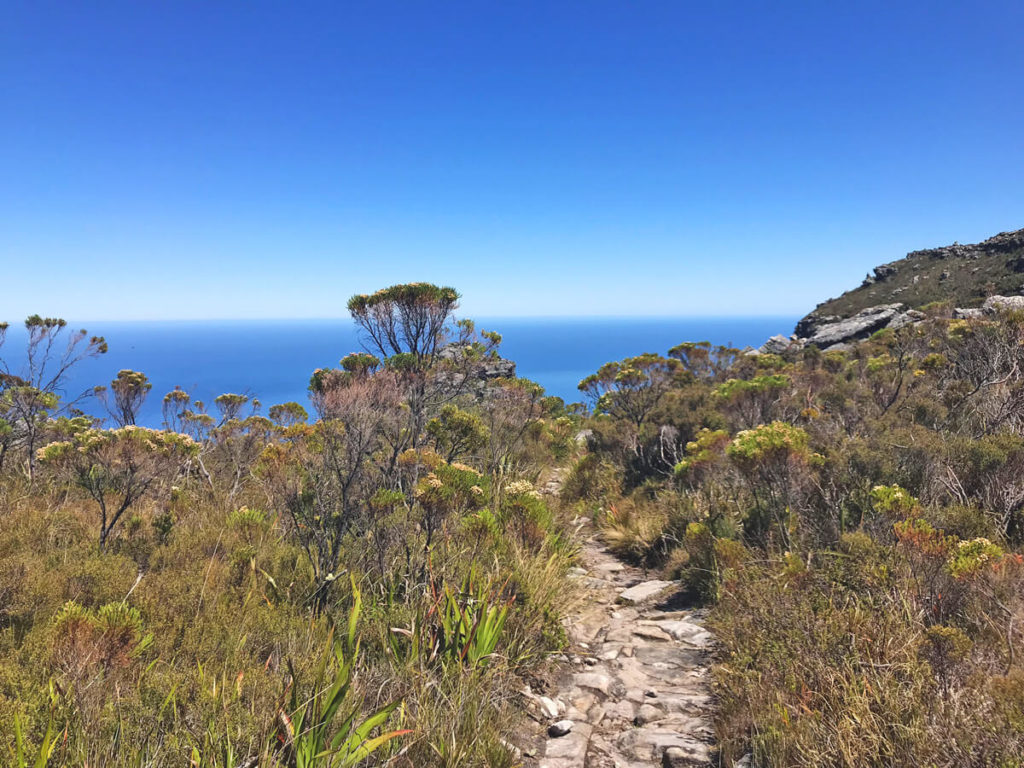
After an hour of more or less flat walking on the Pipe Track, the approximately one-hour climb to the “Diving Board” begins. This is arguably one of Table Mountain’s most famous photo motifs. You should definitely have a head for heights to take a photo like this, but the view is spectacular. Unfortunately, you haven’t really made it once you’ve reached this point. You’ve covered about 5 km in just under 2.5 hours, but unfortunately it’s still a fairly strenuous stretch to the Upper Cable Car Station. From here, however, you can easily descend to Kirstenbosch via Skeleton Gorge or Nursery Ravine. On the way there are one or two water dams to see.
Network of hundreds of hiking trails
The route to the Upper Cable Car Station includes three small mountains, about 3.6 km and another 350 meters of elevation gain. The views make up for it, because in good weather, you can almost see Cape Point. You’ll certainly be able to spot places like Muizenberg, Simon’s Town, and Kommetjie. From here, the picture begins to come together, and the network of hundreds of hiking trails begins to make sense. With the final, very strenuous climb and a small ladder (this can be avoided by taking a small detour at the end), you’ve made it and you’ll end up back where all the paths converge.
From here, simply continue straight ahead and take the last 4-5 steps up to the tourist trail. Congratulations! You’ve reached Table Mountain. Well done! From here, after visiting the best viewpoints, you can walk back down the path via Platteklip Gorge. If you haven’t parked a car, walk the Contour Path to Kloof Corner and then descend to the Pipe Track Parking.
Kasteelspoort – Key Information:
- Ascent: approx. 4-5 hours
- Descent: approx. 4-5 hours
- Elevation Gain: approx. 900 m
- Distance: approx. 8.5 km
- Other: Several drinking water options; in the morning, the trail is shaded up to the diving board.
4. Skeleton Gorge/Nursery Ravine
This hike can be combined with a visit to the Kirstenbosch Botanical Garden. It doesn’t matter whether you start or end the trail here. Kirstenbosch is an incredibly large and diverse garden and offers beautiful, green views of the mountains. In summer, you can enjoy a relaxing picnic in one of the countless green spaces. Summer concerts and open-air cinema also take place here.
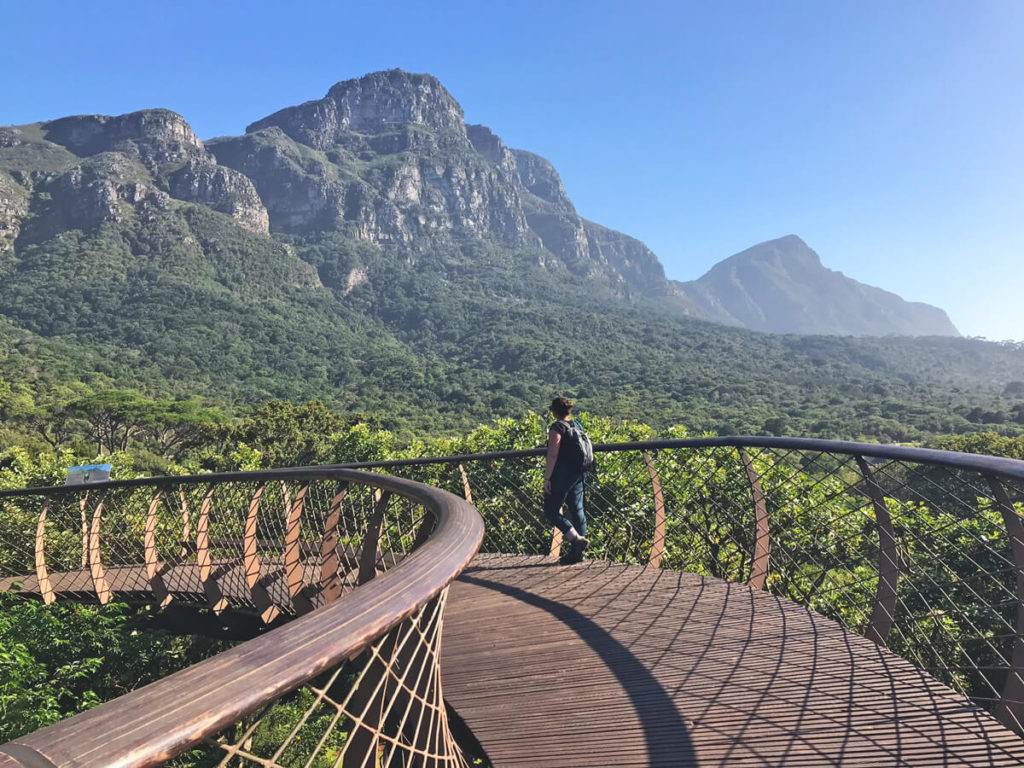
After visiting the Boomslang, a wooden bridge with the best views, you can set off on the climb via Skeleton Gorge. If you don’t want to walk via Kirstenbosch, you can also ascend via Nursery Ravine in the Cecilia Forest (note: the path between Nursery Ravine and Skeleton Gorge is quite overgrown; it’s better to walk via the Hely-Hutchinson Reservoir here).

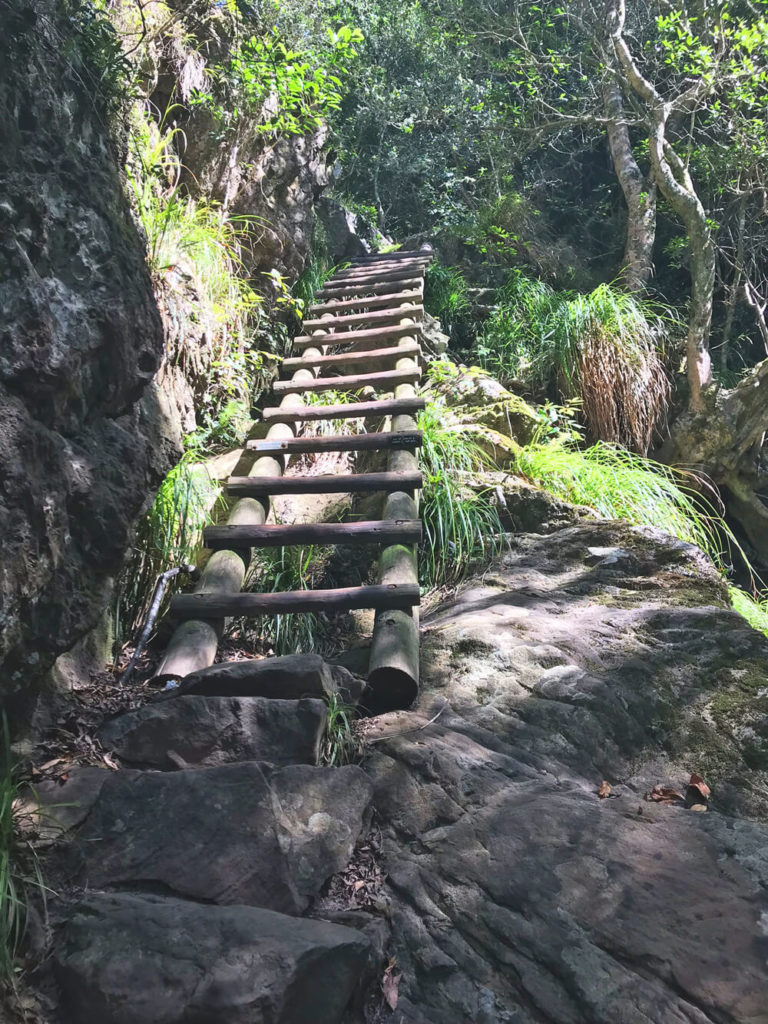
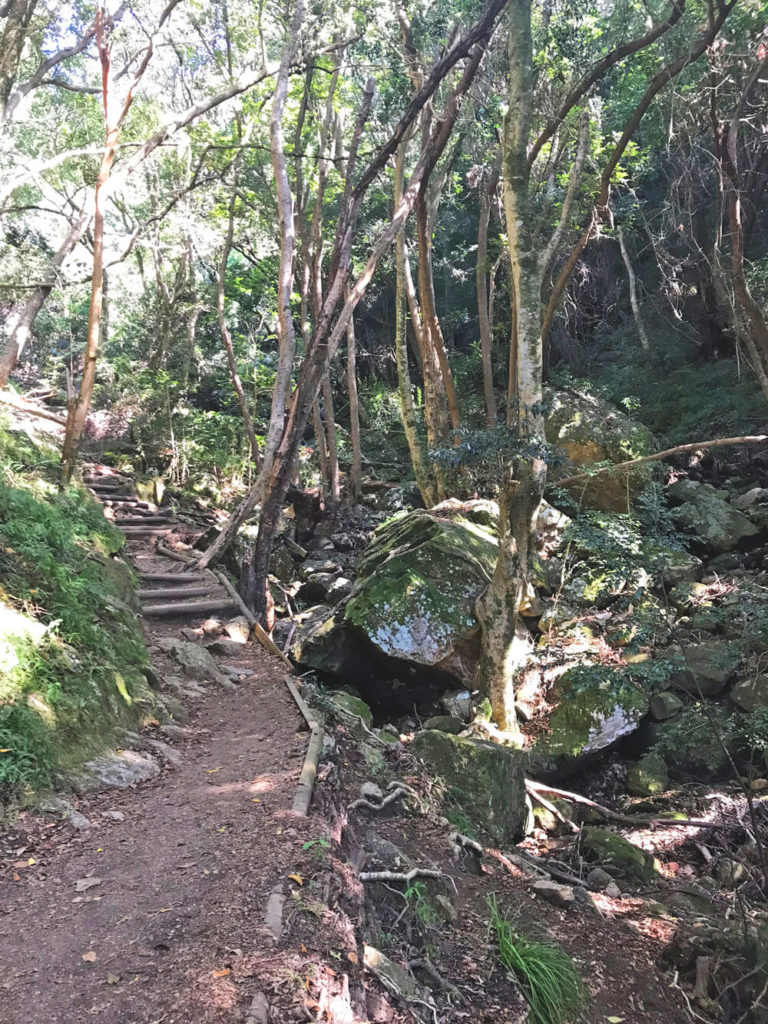
A Small Adventure Trail
Skeleton Gorge is a small adventure trail. While the first part of the trail is a normal path, it later changes to ladders and leads up over large stones in a stream. Wear sturdy shoes here, as the water level can be high, especially in winter, during the South African rainy season at the Cape. Since you’ll be climbing partially through the stream, you should definitely not drink this water. The advantage of the route is that it leads through a forest and is therefore mostly shaded. After about 1.5 hours (2.2 km and about 580 meters of elevation gain), you’ll reach the top.
From here, you can walk towards Kasteelspoort or Constantia Nek and hike back down. If your destination is the cable car station, you can walk over Maclears Beacon, which is also the highest point on Table Mountain. You should reach this waypoint after about 1 hour (2 km and approximately 330 meters of elevation gain). From here, you can choose between a path directly along the edge with incredibly beautiful views of the city or (especially recommended in bad weather and if you’re afraid of heights) the path across the plateau. Both paths lead to the meeting point for all trails and thus, in a few steps, to the tourist trail.

Skeleton Gorge – Key Information:
- Ascent: approx. 4-5 hours
- Descent: approx. 4-5 hours
- Elevation Gain: approx. 940 m
- Distance: approx. 6.8 km
- Other: Trail is in the forest/shade
Nursery Ravine – Key Information:
- Ascent: approx. 4-5 hours
- Descent: approx. 4-5 hours
- Elevation gain: approx. 910 m
- Distance: approx. 8.2 km
- Other: Trail is in the forest/shade
5. Constantia Nek
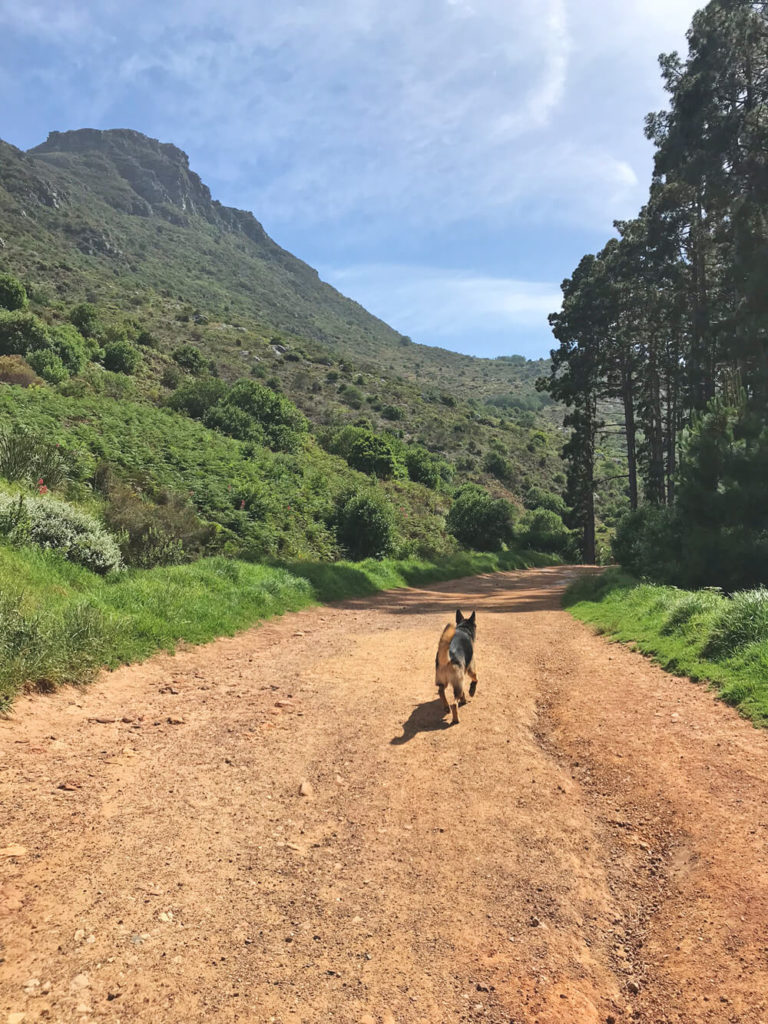
This route is certainly the longest trail if your destination is the Upper Cable Car Station. The advantage is that you practically cross the entire Table Mountain plateau and have many different views. The trail starts at the Constantia Nek car park. There is a jeep track (easier if you’re taking your dog with you, for example) and stairs that shorten the curves of the jeep track. The stairs are shorter in terms of distance, but not necessarily in terms of time, as this route is already more strenuous than the jeep track. It takes about 1 to 1.5 hours to reach the top and the De Villiers Dam.
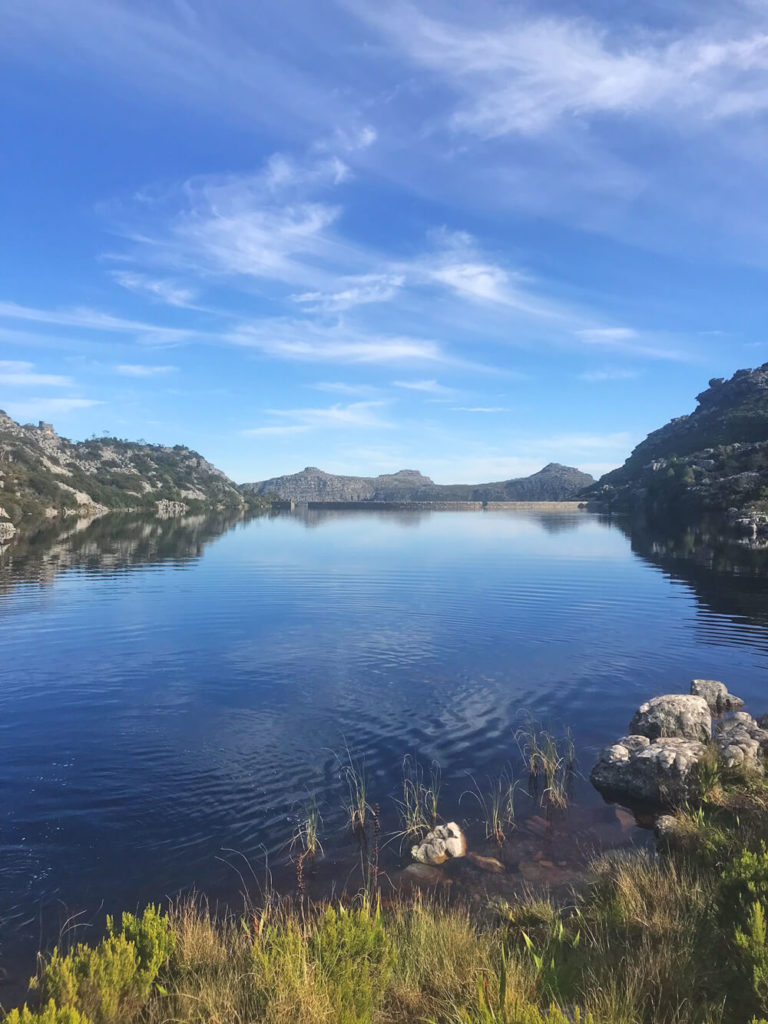
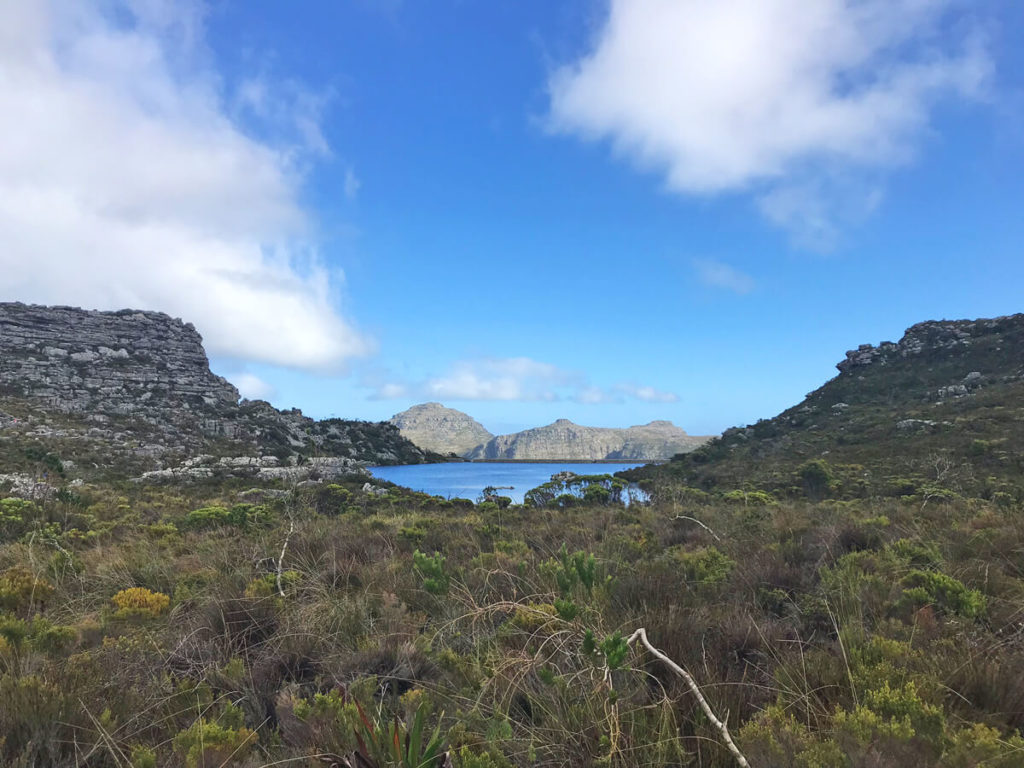
From here, you can walk back down towards Cecilia Forest or Kirstenbosch. Kasteelspoort is also an option. If your route takes you to the Upper Cable Car Station, you have the opportunity to visit all the dams and discover many plants and flowers. Very few people make the entire route across Table Mountain. Many connect the routes. At the Constantia Nek parking lot, for example, there’s the restaurant “La Parada,” and the first wineries, such as Beau Constantia and Constantia Glen, are within walking distance.
Since the route is very easy to walk, I always recommend a Sunday morning “stroll” across Constantia Nek and Cecilia Forest. From here, you can simply stop at one of the wineries or restaurants and end the day in a relaxed atmosphere.
Constantia Nek – The most important information:
- Ascent: approx. 6 hours
- Descent: approx. 6 hours
- Elevation gain: approx. 910 m
- Distance: approx. 11 km
- Other: no shade
Constantia Nek (back via Cecilia Forest):
- Hike: approx. 4 hours
- Elevation gain: approx. 510 m
- Distance: approx. 8 km
- Other: no shade, De Villiers Dam is a good picnic spot
Hiking up Table Mountain – My conclusion
So? Have I convinced you to hike up Table Mountain? With my favorite routes around Table Mountain, you’ll definitely be well prepared. There’s something for everyone here. Perhaps you’d like to try out one or two of the routes. Feel free to contact me if you have any questions. See you soon on Table Mountain. Your Tine!