In a time when we want to be online anytime, anywhere, reliable mobile data is incredibly important—especially when traveling to a distant country like Thailand. With an eSIM, you can get started right after landing in Thailand, without the hassle of swapping SIM cards. In this article, we’ll show you how eSIMs work, which providers are suitable for Thailand, and what tips we can give you. Enjoy browsing!
- What is an eSIM and how does it work?
- What are the advantages of an eSIM?
- Requirements: eSIM-compatible devices
- eSIM providers for Thailand
- How to set up your eSIM for Thailand
- Disadvantages of an eSIM in Thailand
- eSIM vs. classic SIM card: Which is better for Thailand?
- Tips for using your eSIM in Thailand
- Conclusion: Is an eSIM worth it for Thailand?
- eSIM FAQ – The most important questions and answers
What is an eSIM and how does it work?
An eSIM is essentially a digital SIM card that you activate directly on your smartphone – without any plastic cards. You get a QR code from your provider, scan it with your phone, and voila: the plan is installed. The biggest advantage? No waiting time! We love it because we’re online immediately after landing in Thailand and can get started right away.
What are the advantages of an eSIM?
No annoying shop visits – You don’t have to run anywhere or stand in line at the airport. You can easily buy an eSIM for Thailand online and activate it right away – without showing your passport or filling out any forms.
Directly online after landing – You can activate the eSIM for Thailand before your trip. This means: You land in Thailand, turn off airplane mode, and are immediately connected. Quickly text your family, order a Grab taxi, or post your first vacation photos right away.
Space for multiple SIMs – The physical SIM slot remains free. This way, you still have your German SIM card as a backup – practical if something goes wrong or you want to stay connected.
Manage everything easily – Change plan or change provider? It’s super easy, directly from your phone – no fiddling with a SIM card.
Top up quickly – Used up your data package? With most providers, you can easily top up your data in just a few clicks using the app or website.

Requirements: eSIM-compatible devices
Not every phone supports eSIM. Newer models from Apple (iPhone XS and later), Samsung (Galaxy S20 and later), and Google (Pixel 3 and later) are particularly compatible. So before you get an eSIM, quickly check whether your smartphone even supports it – this will save you trouble later.
How to check if your device is eSIM compatible:
If your device supports eSIM, you will see the EID number (eSIM ID) here. If this is missing, the device does not support eSIM.
- Example iPhone 15 Pro: Settings → General → About → EID number
- Example Google Pixel: Settings → About phone → EID number
eSIM providers for Thailand
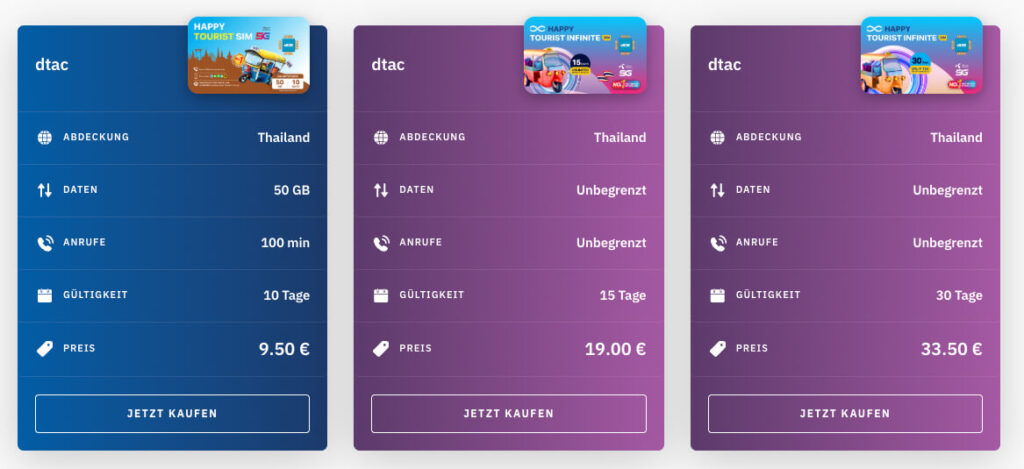
There are now plenty of providers that offer eSIM data packages for Thailand. We’ve picked out three popular ones for you and roughly checked the prices:
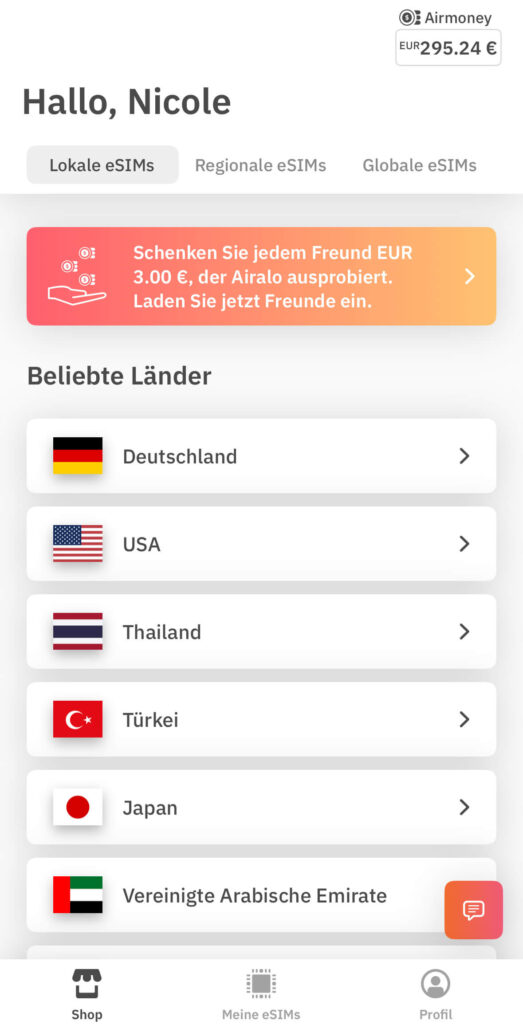
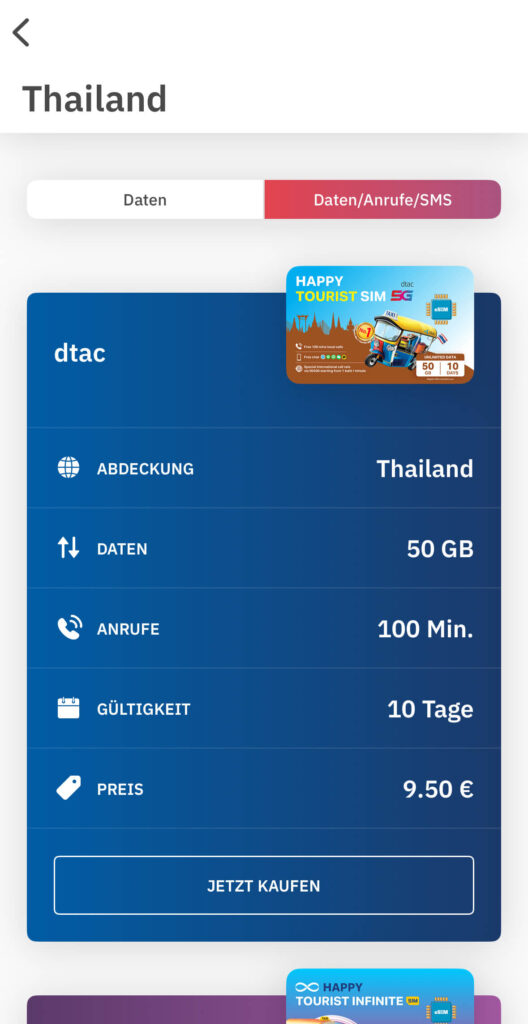
Airalo* – We’ve used it many times on our trips and have always been satisfied. The app is super easy and works reliably. With our code NICOLE2629 you get $3 off your first booking.
ETravelSim* – Offers really good prices, even for unlimited internet. So if you surf the web a lot or want to work on the go, it’s definitely worth a look.
Saily* – Belongs to NordVPN* and often has the best prices, especially for larger data packages. With our code KWMDE5 you get a 5% discount.
How to set up your eSIM for Thailand
Step 1 – Buy eSIM: Go to the website of your preferred provider (for example, Airalo* or ETravelSim*) and select the right data package for Thailand. After the purchase, you will receive a QR code via email or directly displayed.
Step 2 – Scan QR code: Open your phone’s settings, go to “Mobile” or “Mobile Data” and select “Add mobile plan.” Then simply scan the QR code you received from your provider.
Step 3 – Installation: After scanning, your eSIM profile will be installed automatically. It only takes a few seconds.
Step 4 – Activation: The eSIM is usually activated as soon as you arrive at your destination and the mobile network is found. The validity period then starts automatically. However, there are also providers where the eSIM works immediately after installation—in this case, it’s best to install it shortly before your trip.
Step 5 – Keep an eye on your data usage: Almost all providers have an app or online portal where you can check how much data you’ve already used. And if you run out of credit, you can usually top up there directly.


Disadvantages of an eSIM in Thailand
As practical as an eSIM for Thailand is, there are also a few disadvantages:
- Somewhat more expensive than local SIM cards: eSIMs are super convenient, but often a bit more expensive than a physical SIM card that you could buy locally. Most of the time, you only get data allowances and not traditional phone minutes.
- No regular phone calls or text messages: With some eSIM data packages, you can’t make regular phone calls or send text messages. If you want to call someone, you can easily do so via WhatsApp, FaceTime, or Skype.
eSIM vs. traditional SIM card: Which is better for Thailand?
Whether you choose an eSIM or a traditional SIM card in Thailand depends on what is more important to you. We’ve tried both and were happy with both options. For longer stays, we often get a local SIM card at a 7-Eleven (it’s usually more expensive at the airport!).
eSIM for Thailand: The eSIM is great if you like things simple and want to be online right after landing. Ideal for shorter trips or if you just need mobile internet and don’t necessarily need to make phone calls.
Local SIM card for Thailand: If you’re staying longer and want to make phone calls or send text messages, a physical SIM card is worth it. In Thailand, you can get really good packages with data, calls, and texts in shops from providers like AIS, TrueMove, or DTAC – and they’re often cheaper than an eSIM.
Tips for using your eSIM in Thailand
- Activate data saving mode: If your data package isn’t huge, set your apps to data saving mode. With Google Maps, for example, you can download maps offline – super practical when you’re on the go and don’t use up data.
- Use Wi-Fi: In Thailand, you can find free Wi-Fi almost everywhere – in cafes, hotels, or even shopping malls. This saves data. If you use public Wi-Fi, we recommend a VPN like NordVPN* to keep your data safe.
- Keep an eye on your data usage: Most eSIM providers like Airalo have an app that shows you exactly how much data you’ve used. Alternatively, you can also find this in your phone’s settings.
- Turn off roaming: Be sure to check whether roaming is turned off for you. Most eSIMs for Thailand are only valid for the country – in neighboring countries it can quickly become expensive. So it’s better to check beforehand and avoid it!
Conclusion: Is an eSIM for Thailand worth it?
An eSIM for Thailand is super practical if you want to be online immediately after landing – without any stress or SIM card changes. For shorter trips or if you mainly need mobile internet, we absolutely recommend the eSIM. If you are traveling in Thailand for a longer period and perhaps want to make phone calls or send text messages, a local SIM card may be more worthwhile. These are often cheaper and offer more data plus airtime for calls.
eSIM FAQ – The most important questions & Answer
Yes, most devices that support eSIM can use an eSIM and a physical SIM simultaneously. This means you have dual SIM functionality. Super practical when traveling – you can keep your German number and still use a cheap, local data plan in Thailand.
After purchasing, you usually receive a QR code from your provider. Simply scan it in your phone’s settings – and the eSIM will be automatically installed and activated. It’s actually quite easy!
Yes, this works easily with most smartphones. You can delete old eSIM profiles and add new ones – super practical if you’re on the go a lot. But be careful: Some providers charge a small fee for reactivation. So it’s best to check beforehand!
Yes, to a certain extent! The advantage: An eSIM can’t simply be stolen or removed – it’s digitally stored in the device. This definitely makes it more secure. But of course: If your phone or provider isn’t well-secured, hacks or attacks can still occur. So always check for updates and use secure passwords!
With an eSIM, you’ll be online immediately after landing – no stress, no waiting in line at the store. Plus, you can easily switch between different plans if you realize you need more data or want to try a different provider while you’re on the go. Super flexible and really convenient!